UPDATE: I have been asked about the design of the compost bay - so I will share:
- I am no carpenter so the basic design is use what you have, fiddle and go with the flow.
- Tools: hammer, nails, screws, tape measure, saw, angled brackets, mallet, stain, brush...
- I have lots of spare wood knocking about - usually scavenged from skips. People throw away good stuff when renovating, so look out for builders skips!
- The main wood is from pallets - this is good because usually the planks will be of the same length, so little measuring is done and if you base you design on the width of a pallet - all good!.
- The base of the bay is some hardboard I found, which I put on a base of rubble.
- I got 2 good square-ended posts which I thumped into the ground for the back corners of the bay, which I attached the sides and back panel to.
- The back is an old shed panel - slightly wider than the bay but no problem.
- The left side is a very solid hardboard pallet base.
- The right side is a mixture of an old pallet and some pallet planks nailed on.
- To attach the 3 sides to the posts in the ground I screwed angle brackets (bought these) to them.
- The front of the bay I put a square-ended post (like a hearth) and used angle brackets to attach this to the sides. I made sure the width of the front (hearth) is only slightly wider than the length of a pallet plank.
- For the front of the bay I nailed 2 pieces of wood (either side) with a gap wide enough so a pallet plank can slide up and down. These are free to be removed when digging the bay out - much easier!
- As the width of the opening of the bay is a pallet planks' length - no cutting of planks is required!
- I put some extra bit of wood around the top and edge to make it look a bit smarter.
- Gave everything a good stain - and hey presto!
 |
| Midway through constructing the compost bay |
 |
| All done |
 |
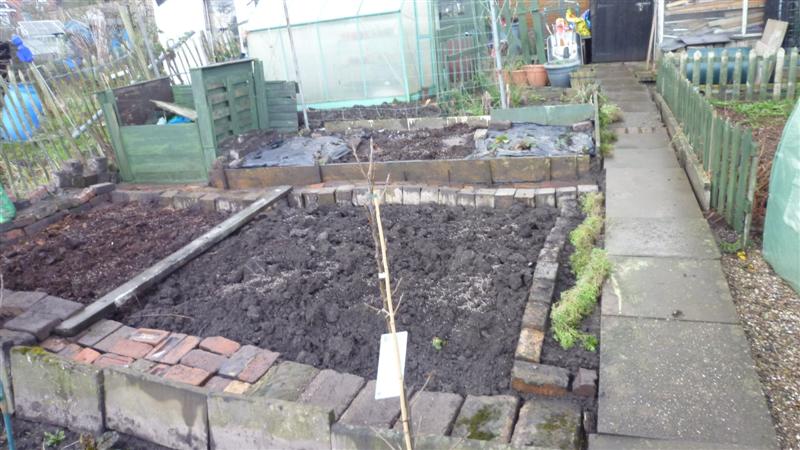
| Manured the newest bit |
 |
| Strawberries planted in membrane |
 |
| 9 strawberry plants |
 |
| Another 9 strawberry plants |
 |
| New compost bin with retractable front |
 |
| More space! |


2 comments:
Excellent effort with the compost bins Ben, the green paintwork certainly fits in well all round, great progress.
Thanks Rooko, I prefer painting everything in green as it blends into the background. The old compost bays were a bit too large for the plot, decided to have individual plastic bins to save lugging lots of green waste about the place.
Post a Comment